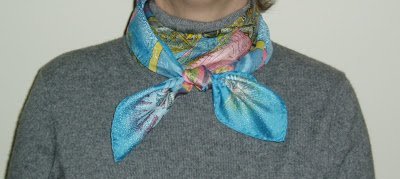
repeat after me: left over right, then right over left…
I don’t wear this knot terribly often, but it’s very handy to know, as there are two variations using a square knot, and once you know how to tie this one, you can do it without a mirror…
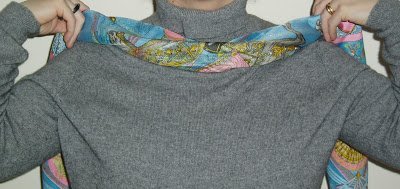
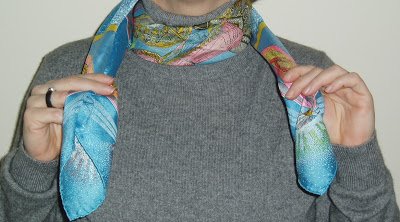
Start with a bias folded scarf, or a rectangular scarf, and center it behind your neck like so:
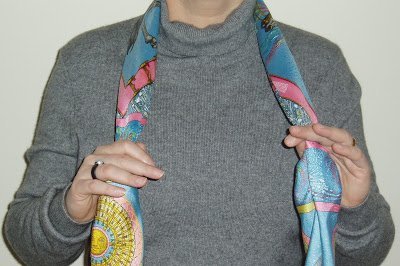
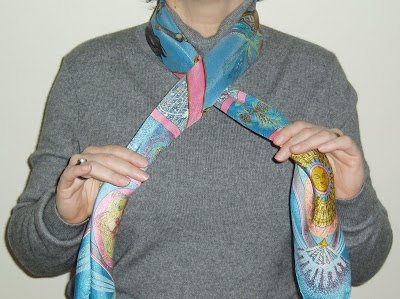
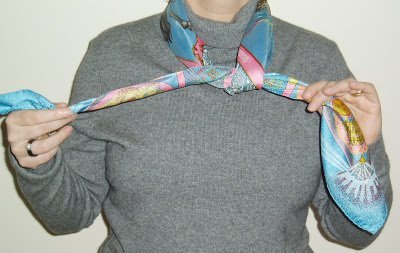
Now here’s where many people go awry. Your normal instinct is to take the “new” left end and take it back over the “new” right end. Resist such instinct, and instead, bring the RIGHT SIDE OVER THE LEFT SIDE. (I could get into a technical explanation of how changing direction alters the direction of the weave of the fabric within the knot, and strengthens the knot, but we’re not mooring a ship here…)
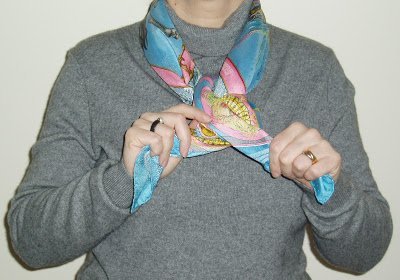
Do the normal loop through and pull, and you get a knot that’s relatively square, and from which the ends will protrude in a rather horizontal manner for a few inches, until the weight of the fabric causes the ends to drop down a bit.
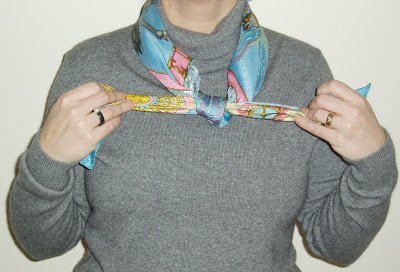
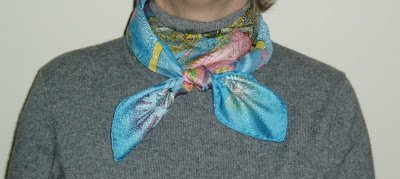
Just for informational purposes, if you tie the knot “left over right, left over right”, you have tied what my father called a Granny Knot (I have no idea if this is a real knot name – if my dad said it, it’s good enough for me!), and this is what it looks like:
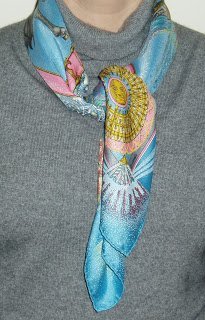
if this is your desired effect, go for it!
I like the shorter knotted version in cold weather, or under a jacket – it gives a nice dash of color, and is quite insulating. For many people, a lower square knot can be quite flattering. I find that it’s silken coals to Newcastle to put anything additional mid-torso, for me…
Thanks for the scarf tying lesson. Now I understand what to do with the scarves in your wardrobe posts.
haha ive been doing granny knots. thanks for the info!
I've always know them to be square knots (or reef knots) and granny knots.
Thanks for the eye opener, my previous to today only knot – see last picture. Your granny knot does have charm, because of the placement of the sun. :-)